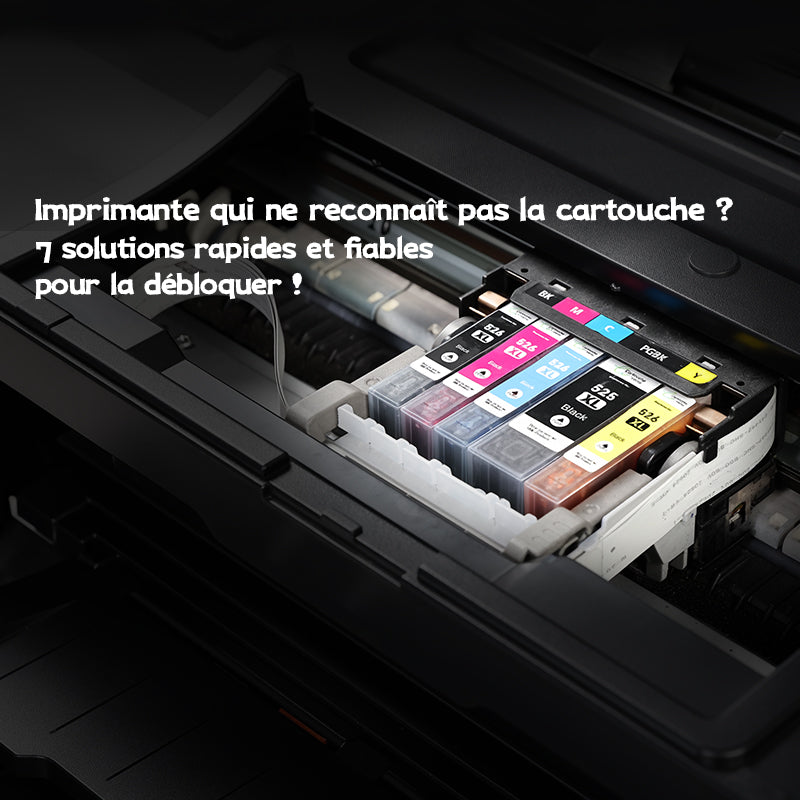
How-To Guide: Manually Unclog the Epson ET-2760 Printhead in Case of Printing Problems

If your Epson ET-2760 printer is not printing correctly, leaving incomplete lines, or having trouble reproducing color images, follow this procedure to manually unclog the print head.

The printhead's role is to accurately deposit ink onto the paper. Before proceeding with manual unclogging, it's recommended to perform a standard or power printhead cleaning to see if the problem can be resolved this way. If the issue persists, you can then proceed to the next steps.

These steps are simple to perform and do not require any special technical skills. However, it is possible that some ink may drip onto your hands or clothes, so it is best to wear appropriate clothing.

First Step: How to Unclog the Printhead of an Epson ET-2760

  • Start a print or perform a nozzle check.
  • When printing starts, unplug the power cable in the middle of printing.

Second Step

  • Open the printer, then remove the partially printed paper through the slot.
  • Slide a thick paper towel or cloth under the print head.

Third Step

  • Unscrew the single screw using a Phillips #0 screwdriver.
  • Detach the two white plastic clips.
  • Then lift the top cover off the print head.

Fourth Step

  • Remove the four ink cartridges from the printhead by pulling the small tabs located above each cartridge.
  • Make sure not to disconnect the ink lines from the cartridges. Gently place any still-connected cartridges to the side of the printhead.

Fifth Step

Fill a syringe with printhead cleaning solution and position the tip of the syringe over the holes left by the cartridges.

Sixth Step

  • Begin squirting the manufacturer's recommended amount of solution through each hole on the paper towel.
  • If necessary, replace the paper towel between rinses to prevent the solution from seeping into the printer.

 Seventh Step

Remove the paper towel from under the print head.

Eighth Step

  • Replace each ink cartridge in its original position.
  • Reclip the two printhead cover clips.
  • Tighten the single screw using a #0 Phillips screwdriver.

Ninth Step

Perform automatic cleaning to ensure any ink residue is removed.

Leave a comment

Leave a comment


Blog posts

  • 🖨️ Cartouches de toner HP 305A / 305X : imprimez l’esprit tranquille, quels que soient vos besoins

    🖨️ Cartouches de toner HP 305A / 305X : imprimez l’esprit tranquille, quels que soient vos besoins

    😫 Toner vide, tout est bloqué… Que vous soyez une petite entreprise, une association, un enseignant ou un freelance en télétravail, rien de pire que...

    Read more 

  • 🖨️ Impression floue ou cartouche bouchée ?

    🖨️ Impression floue ou cartouche bouchée ?

    Essayez ces astuces simples avant de contacter le SAV ! 😖 Vous lancez l’impression d’un document important……et la page qui sort est pâle, floue ou...

    Read more 

  • 🐢 Impression trop lente ? 6 astuces simples pour accélérer votre imprimante (sans rien changer)

    🐢 Impression trop lente ? 6 astuces simples pour accélérer votre imprimante (sans rien changer)

    Vous avez lancé un document... et voilà que l’imprimante met une éternité à sortir la première page 😤Pas besoin de racheter une imprimante flambant neuve...

    Read more 

  • 🖨️ Rentrée 2025 : et si vous repartiez sur de bonnes bases d’impression ?

    🖨️ Rentrée 2025 : et si vous repartiez sur de bonnes bases d’impression ?

    😰 La rentrée : le moment où tout doit aller vite… et où l’imprimante tombe en panneEntre la liste de fournitures scolaires, les certificats médicaux...

    Read more 

Footer image

© 2025 Cartouche verte,

  • American Express
  • Apple Pay
  • Diners Club
  • Discover
  • Google Pay
  • JCB
  • Mastercard
  • PayPal
  • Visa

Login

Forgot your password?

Don't have an account yet?
Create account